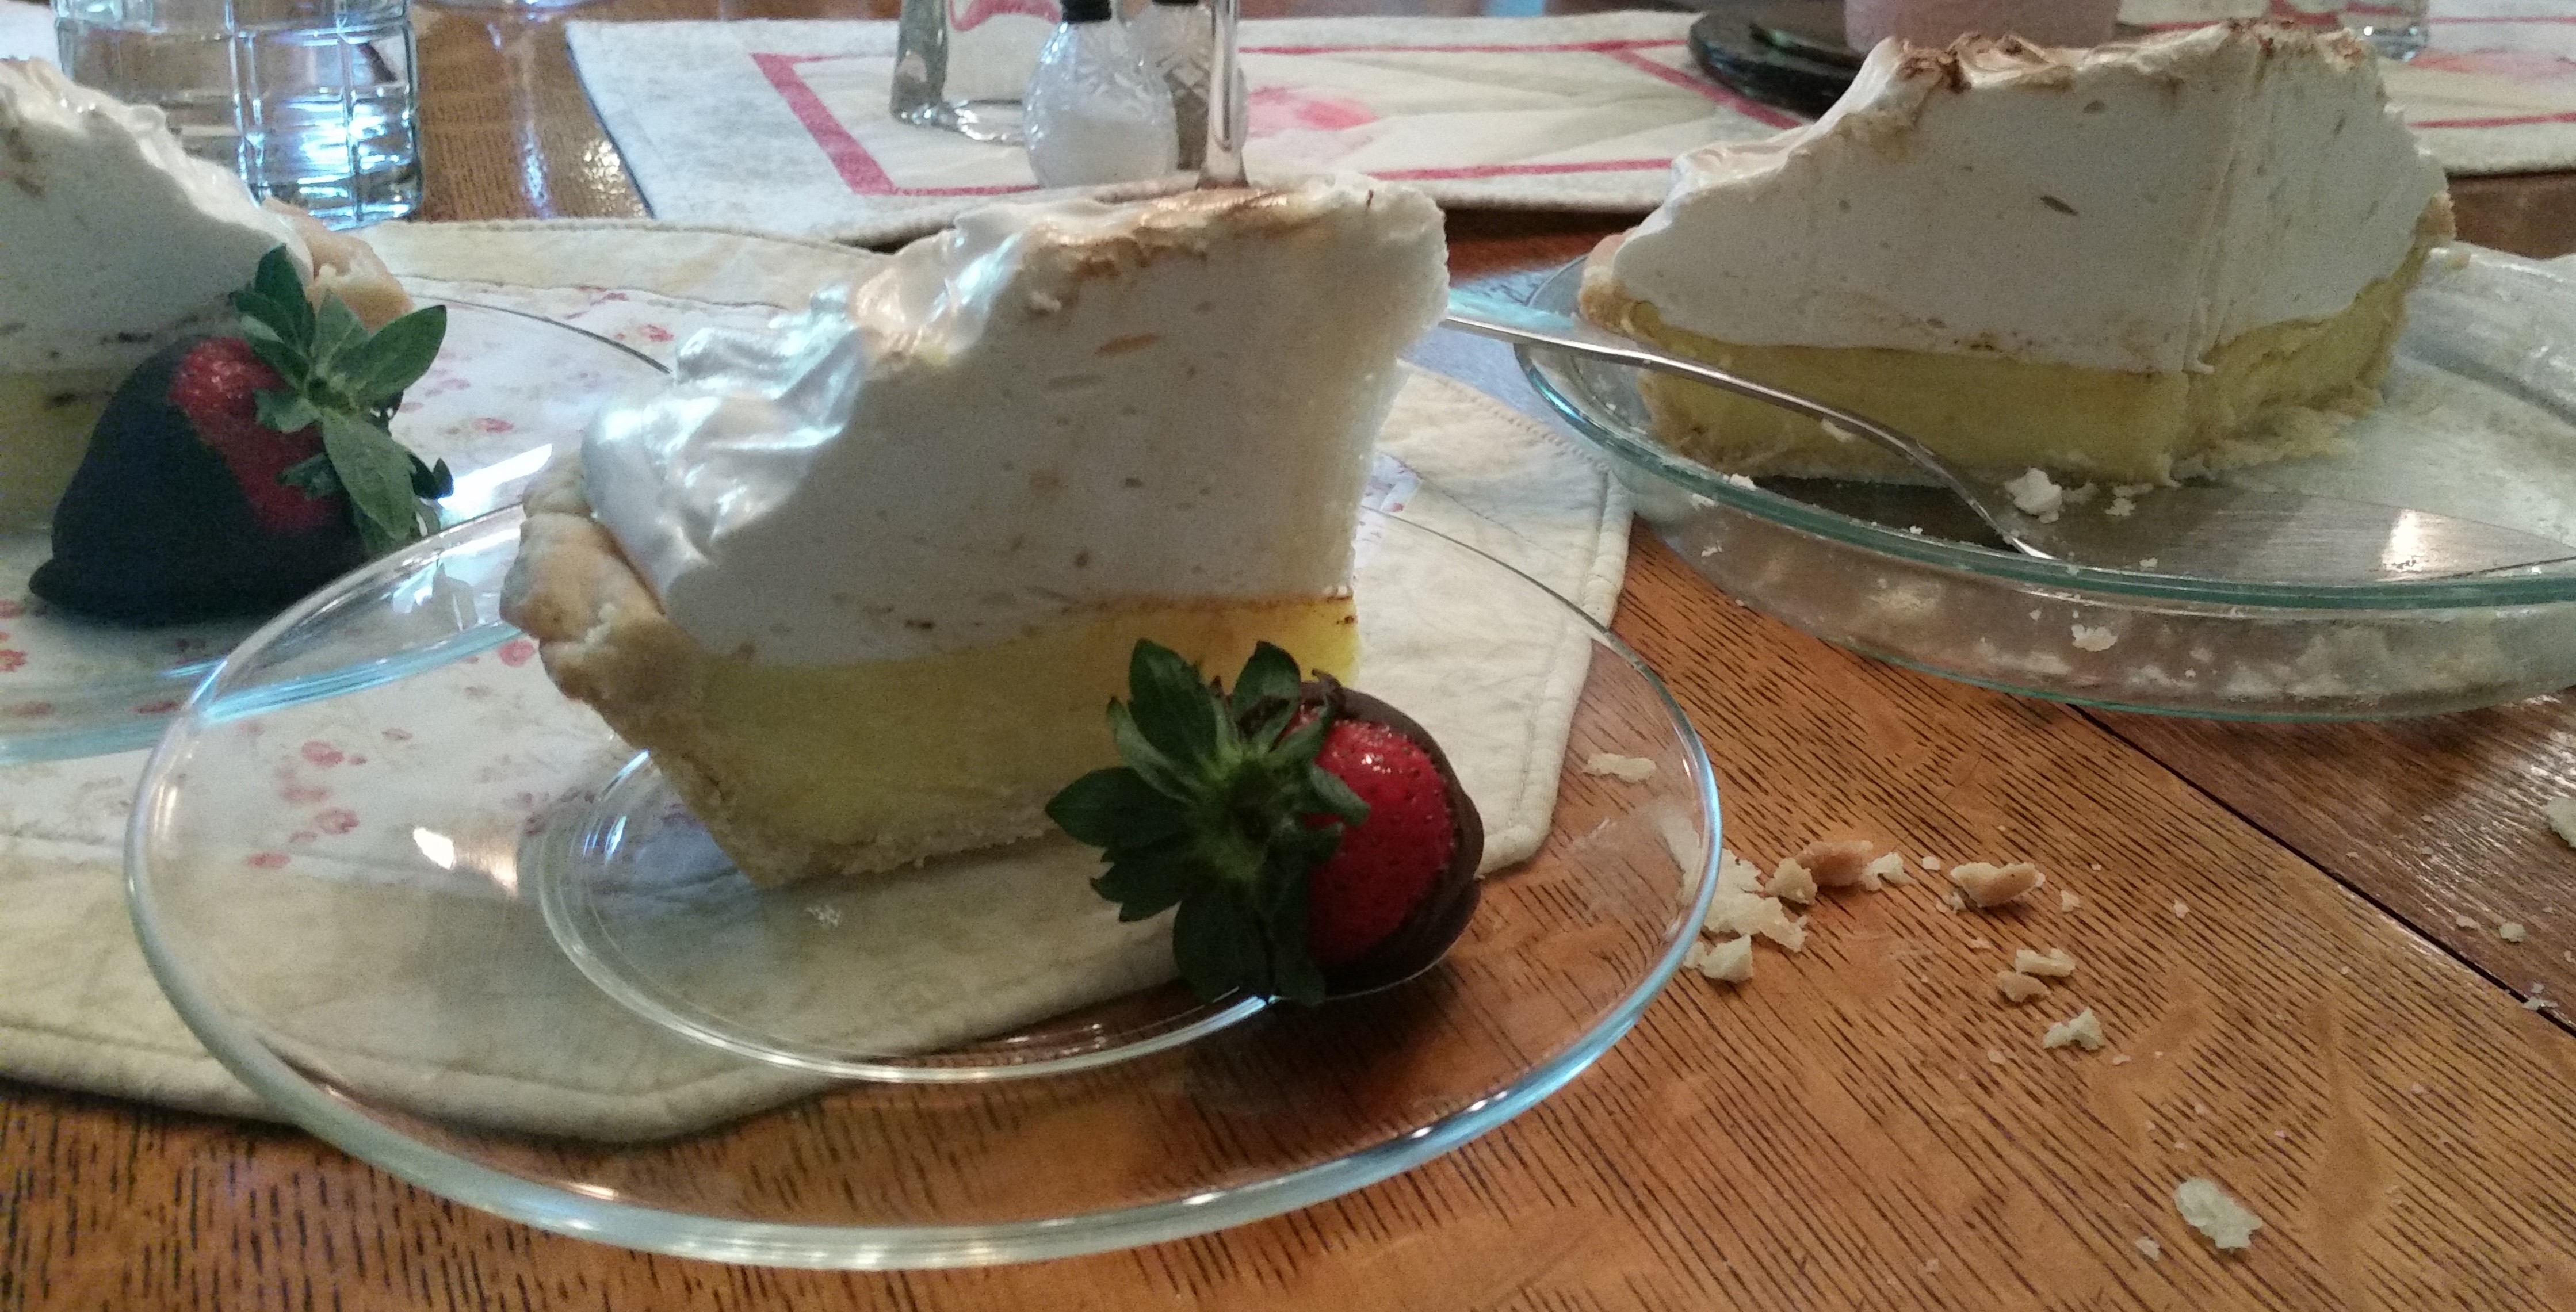
I don’t have much of a sweet tooth, but I love a good pie. For Thanksgiving, I usually make three or four of them. My dad loves cherry pie and chocolate pie so I make both of those and it’s just not Thanksgiving without a good pecan or pumpkin pie (or both). For Mother’s Day this year, I made an incredible Lemon Meringue Pie. And, yes, it was vegan! It takes quite a bit of vegan magic to make a lemon meringue without eggs, but as you can see in the photo above, mine turned out so beautifully. It was decadent and delicious and completely over the top.
So when I went to mix up a batch of new gels, I remembered that pie and thought it would make a great gel flavor. It’s sweet without being too sweet, with a hint of vanilla and salt. I took it on my 20-miler yesterday and it was smooth and easy on my tummy.
This recipe covers all bases: maltodextrin for quick carb absorption, and a little glucose and fructose to make sure all the carbohydrate pathways are being utiltized. You can choose to add caffeine or not.

For more on the science of the ingredients, check out my original post on endurance gels.
As with all my recipes, I recommend weighing your ingredients for accuracy, but I have included traditional measurements as well.

Lemon Cream Pie Endurance Gel
Ingredients
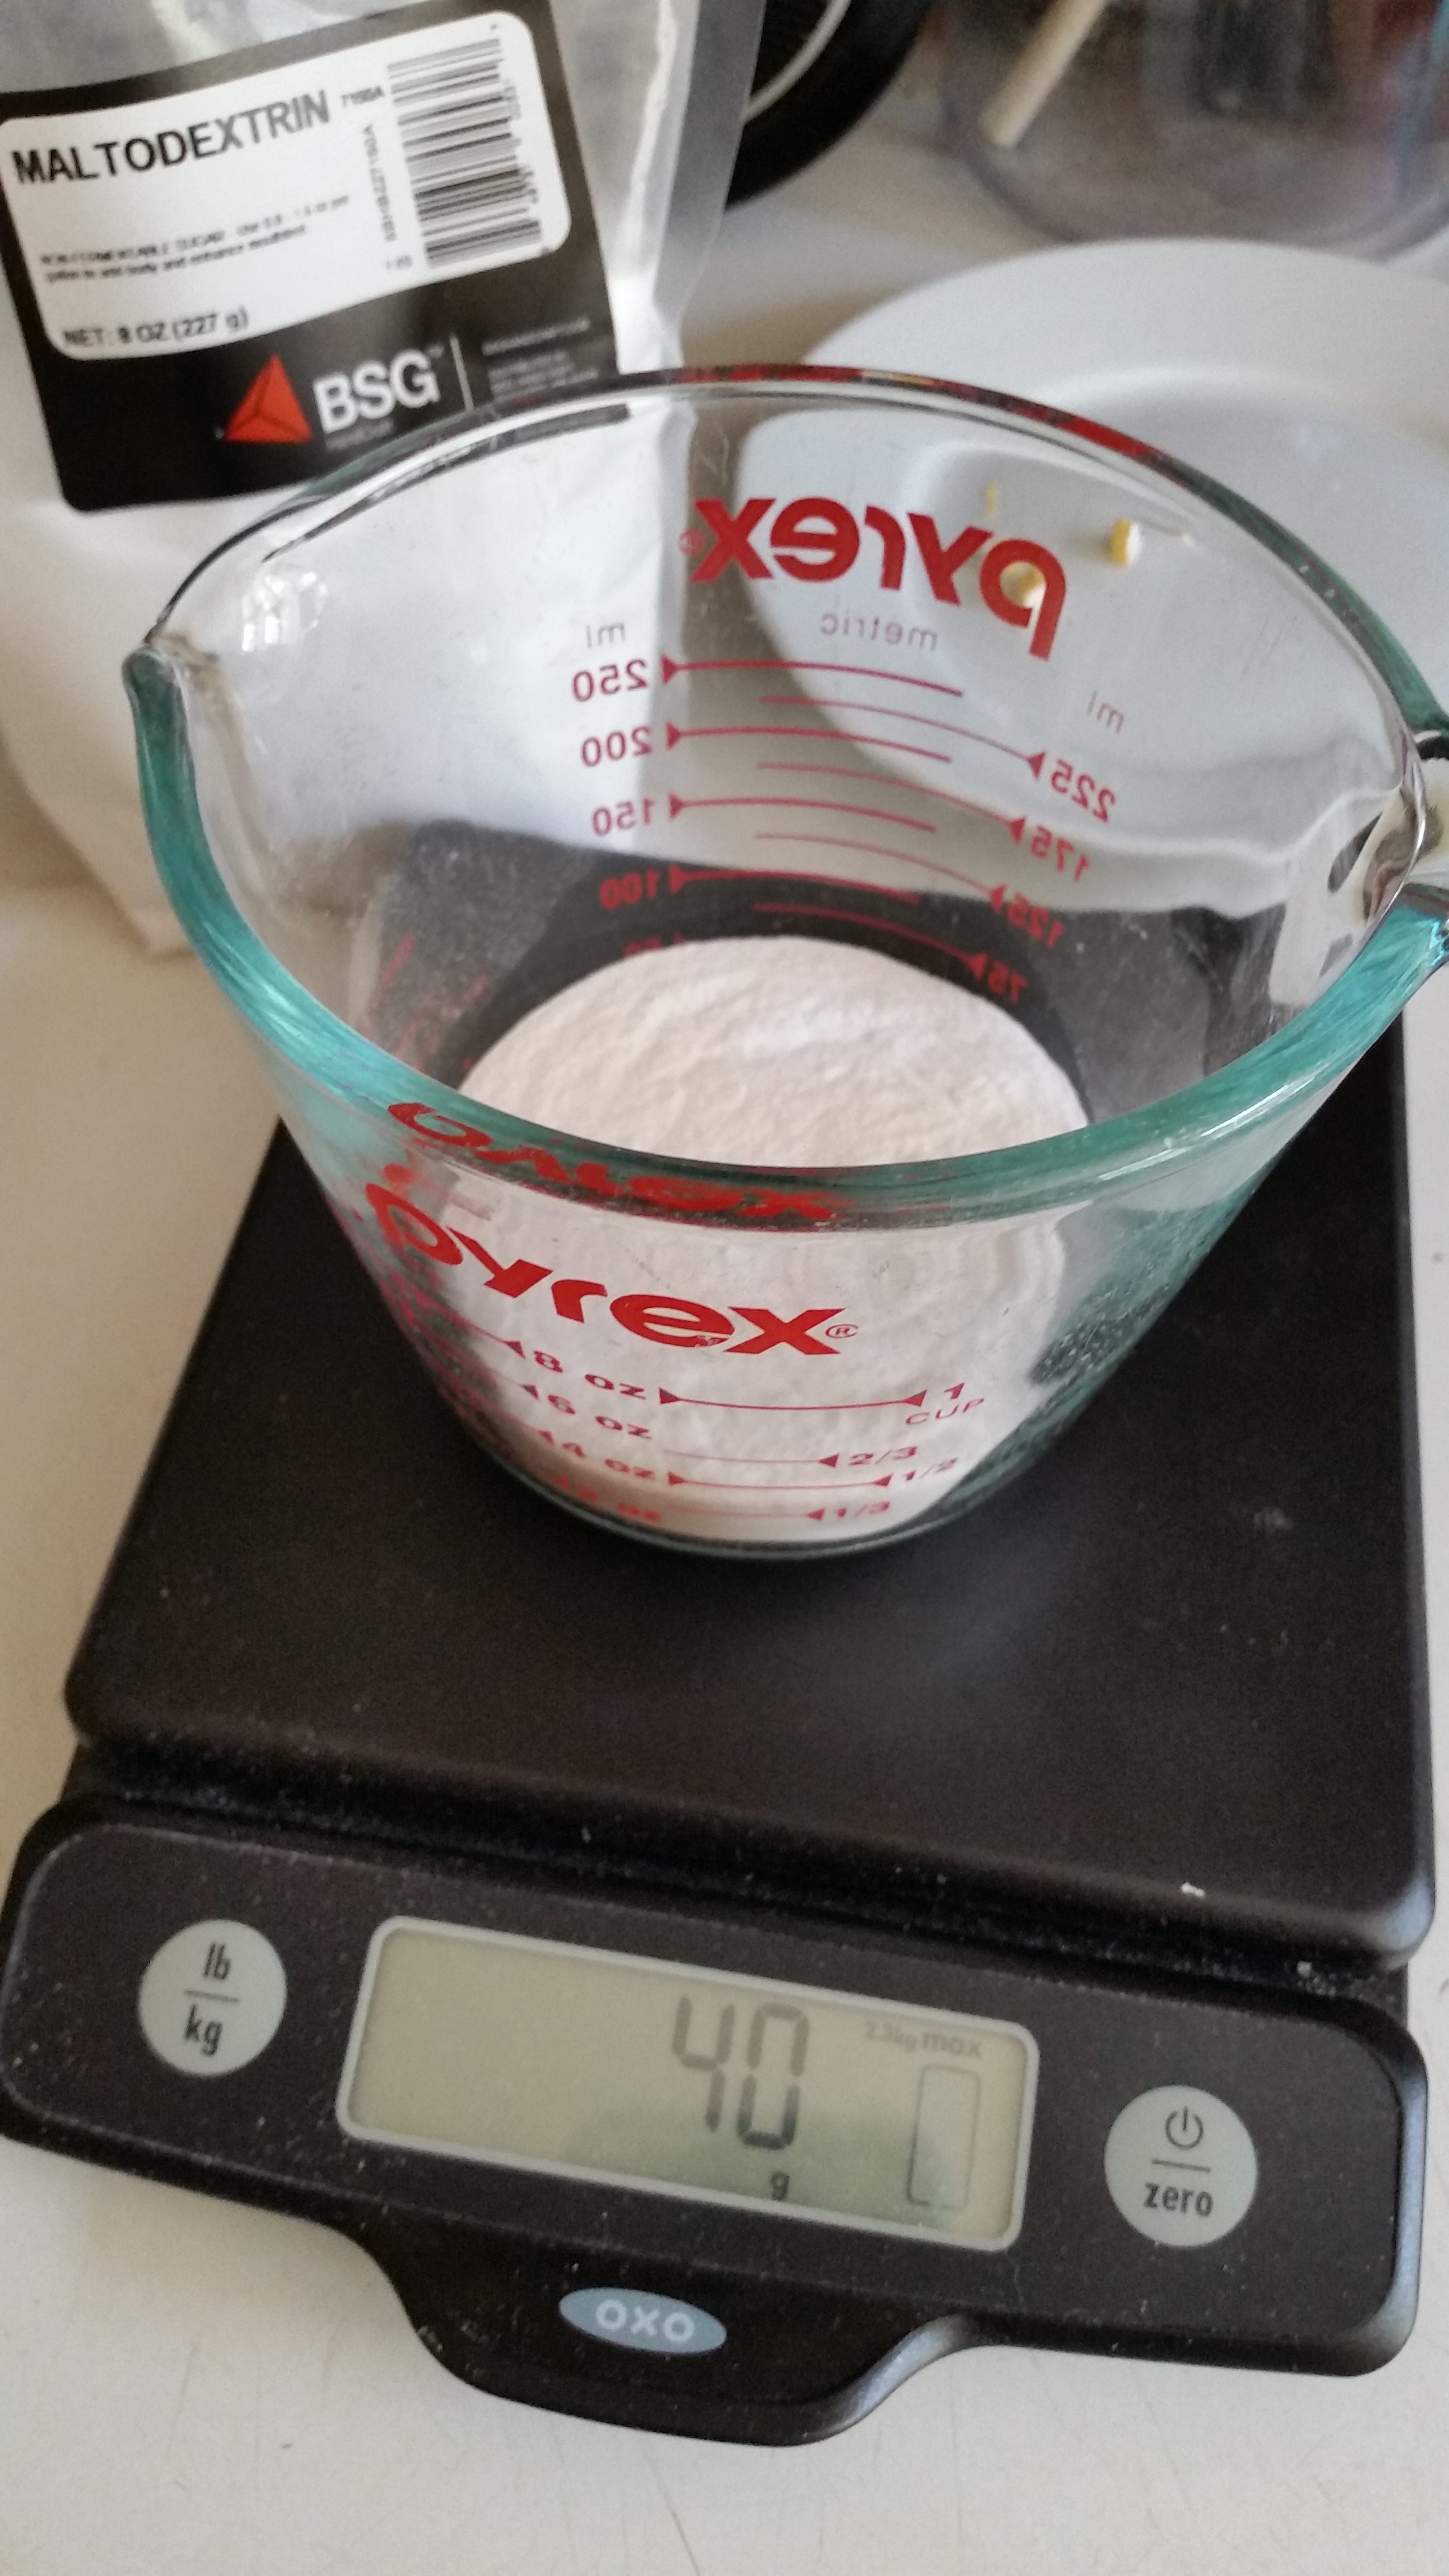
- 40 grams maltodextrin 1/4 cup
- 15 grams agave 2 teaspoons
- 1 tablespoon pure corn syrup
- 1/2 teaspoon vanilla
- 1/16 teaspoon salt
- 1/16 teaspoon Morton's Lite salt or sub regular salt
- 1 teaspoon lemon juice
- 1 to 2 tablespoons of water
- 1/2 tablet of a 200mg caffeine pill crushed (optional)
Instructions
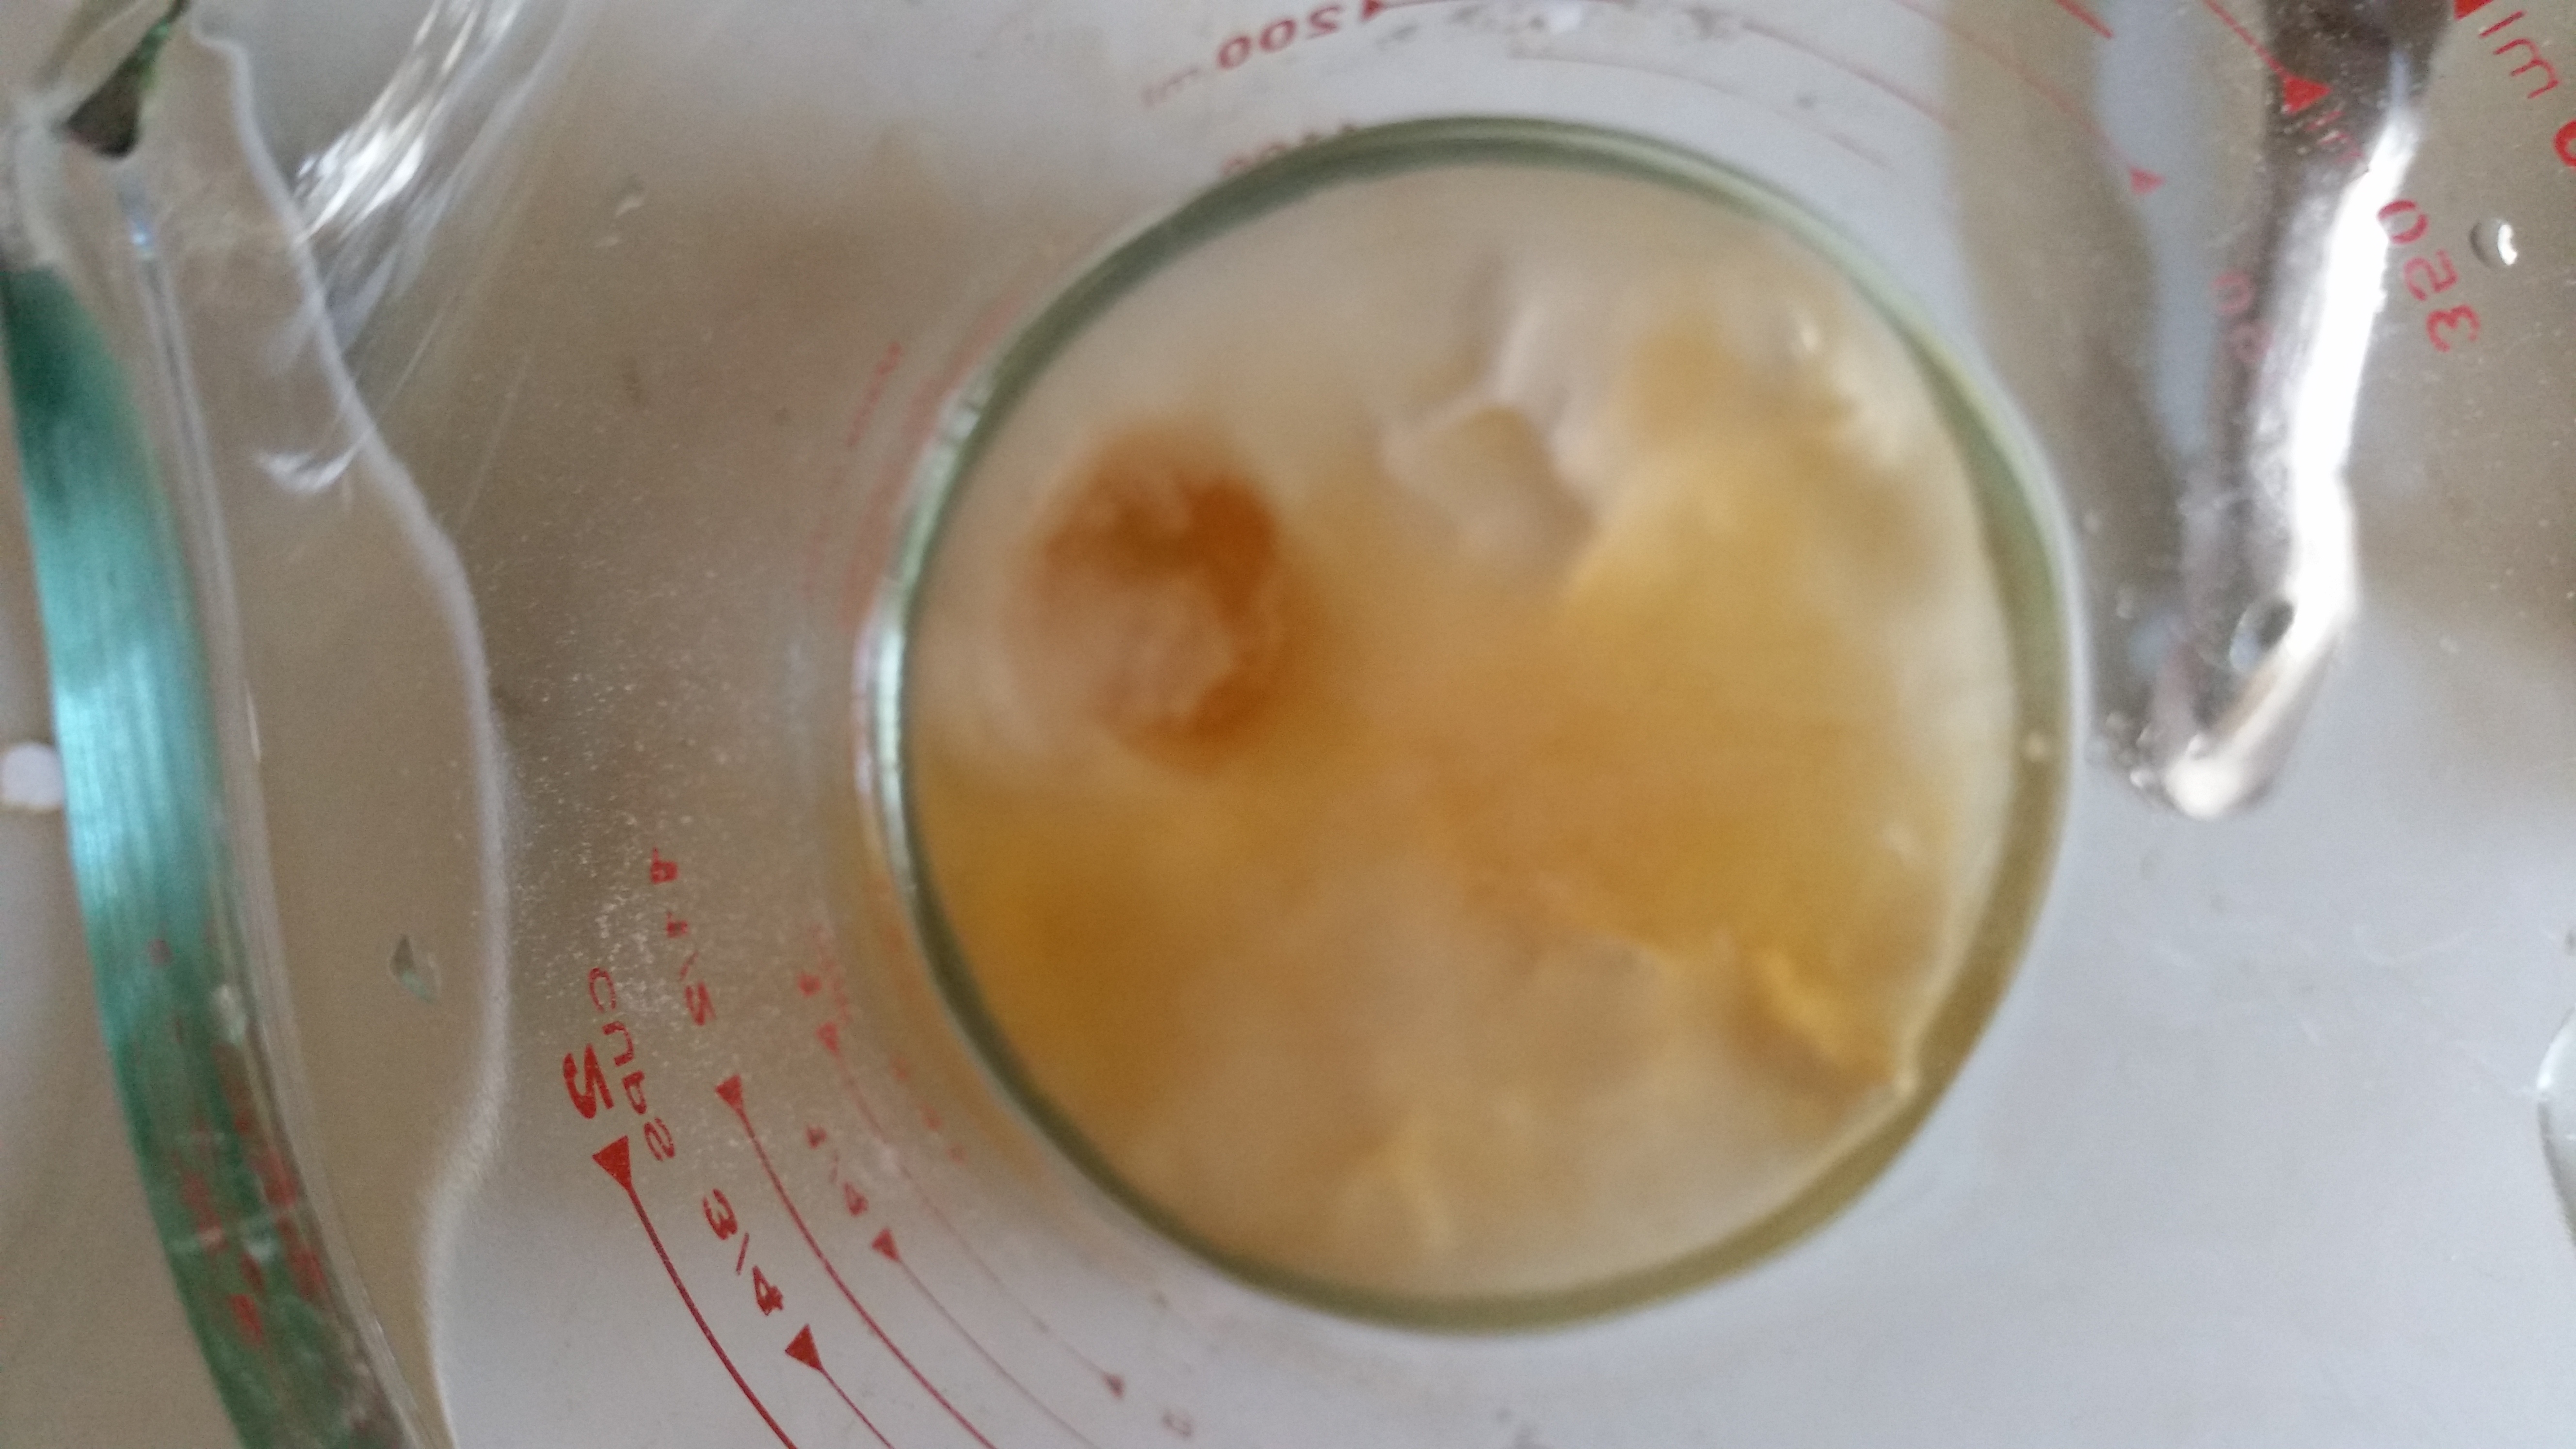
- Mix all ingredients except caffeine if using, in a liquid measuring cup with a spout.
- Add one tablespoon of water at first and stir. I prefer my gels on the runny side so they are smoother to swallow so I add a second tablespoon of water.
- Pour into a gel flask and add caffeine powder, if using.
- If you have a FoodSaver, make 2 small gel-sized bags, stand bags upright in a glass, fill, add 1/4 tablet of caffeine to each gel if using, and seal without vacuuming. Mark a small tear line with a Sharpie near the top of the bag and make a tiny cut, being careful not to cut through the seal.

