I hate gels. When I first started running and started learning about fueling runs, the whole idea of sucking down lab-created maltodextrin and mysterious “natural flavors” didn’t sit well with me. I became plant-based because I wanted to eat whole, unprocessed plants. Gels don’t fit into that plan. Still, when I picked up some free samples at a race expo, I thought I should at least try one. So during a run, I ripped open a Clif gel and immediately gagged. I felt like I had filled my mouth with sickly sweet vanilla toothpaste. It coated my teeth and glued itself to my tongue. Ick. There had to be something better.
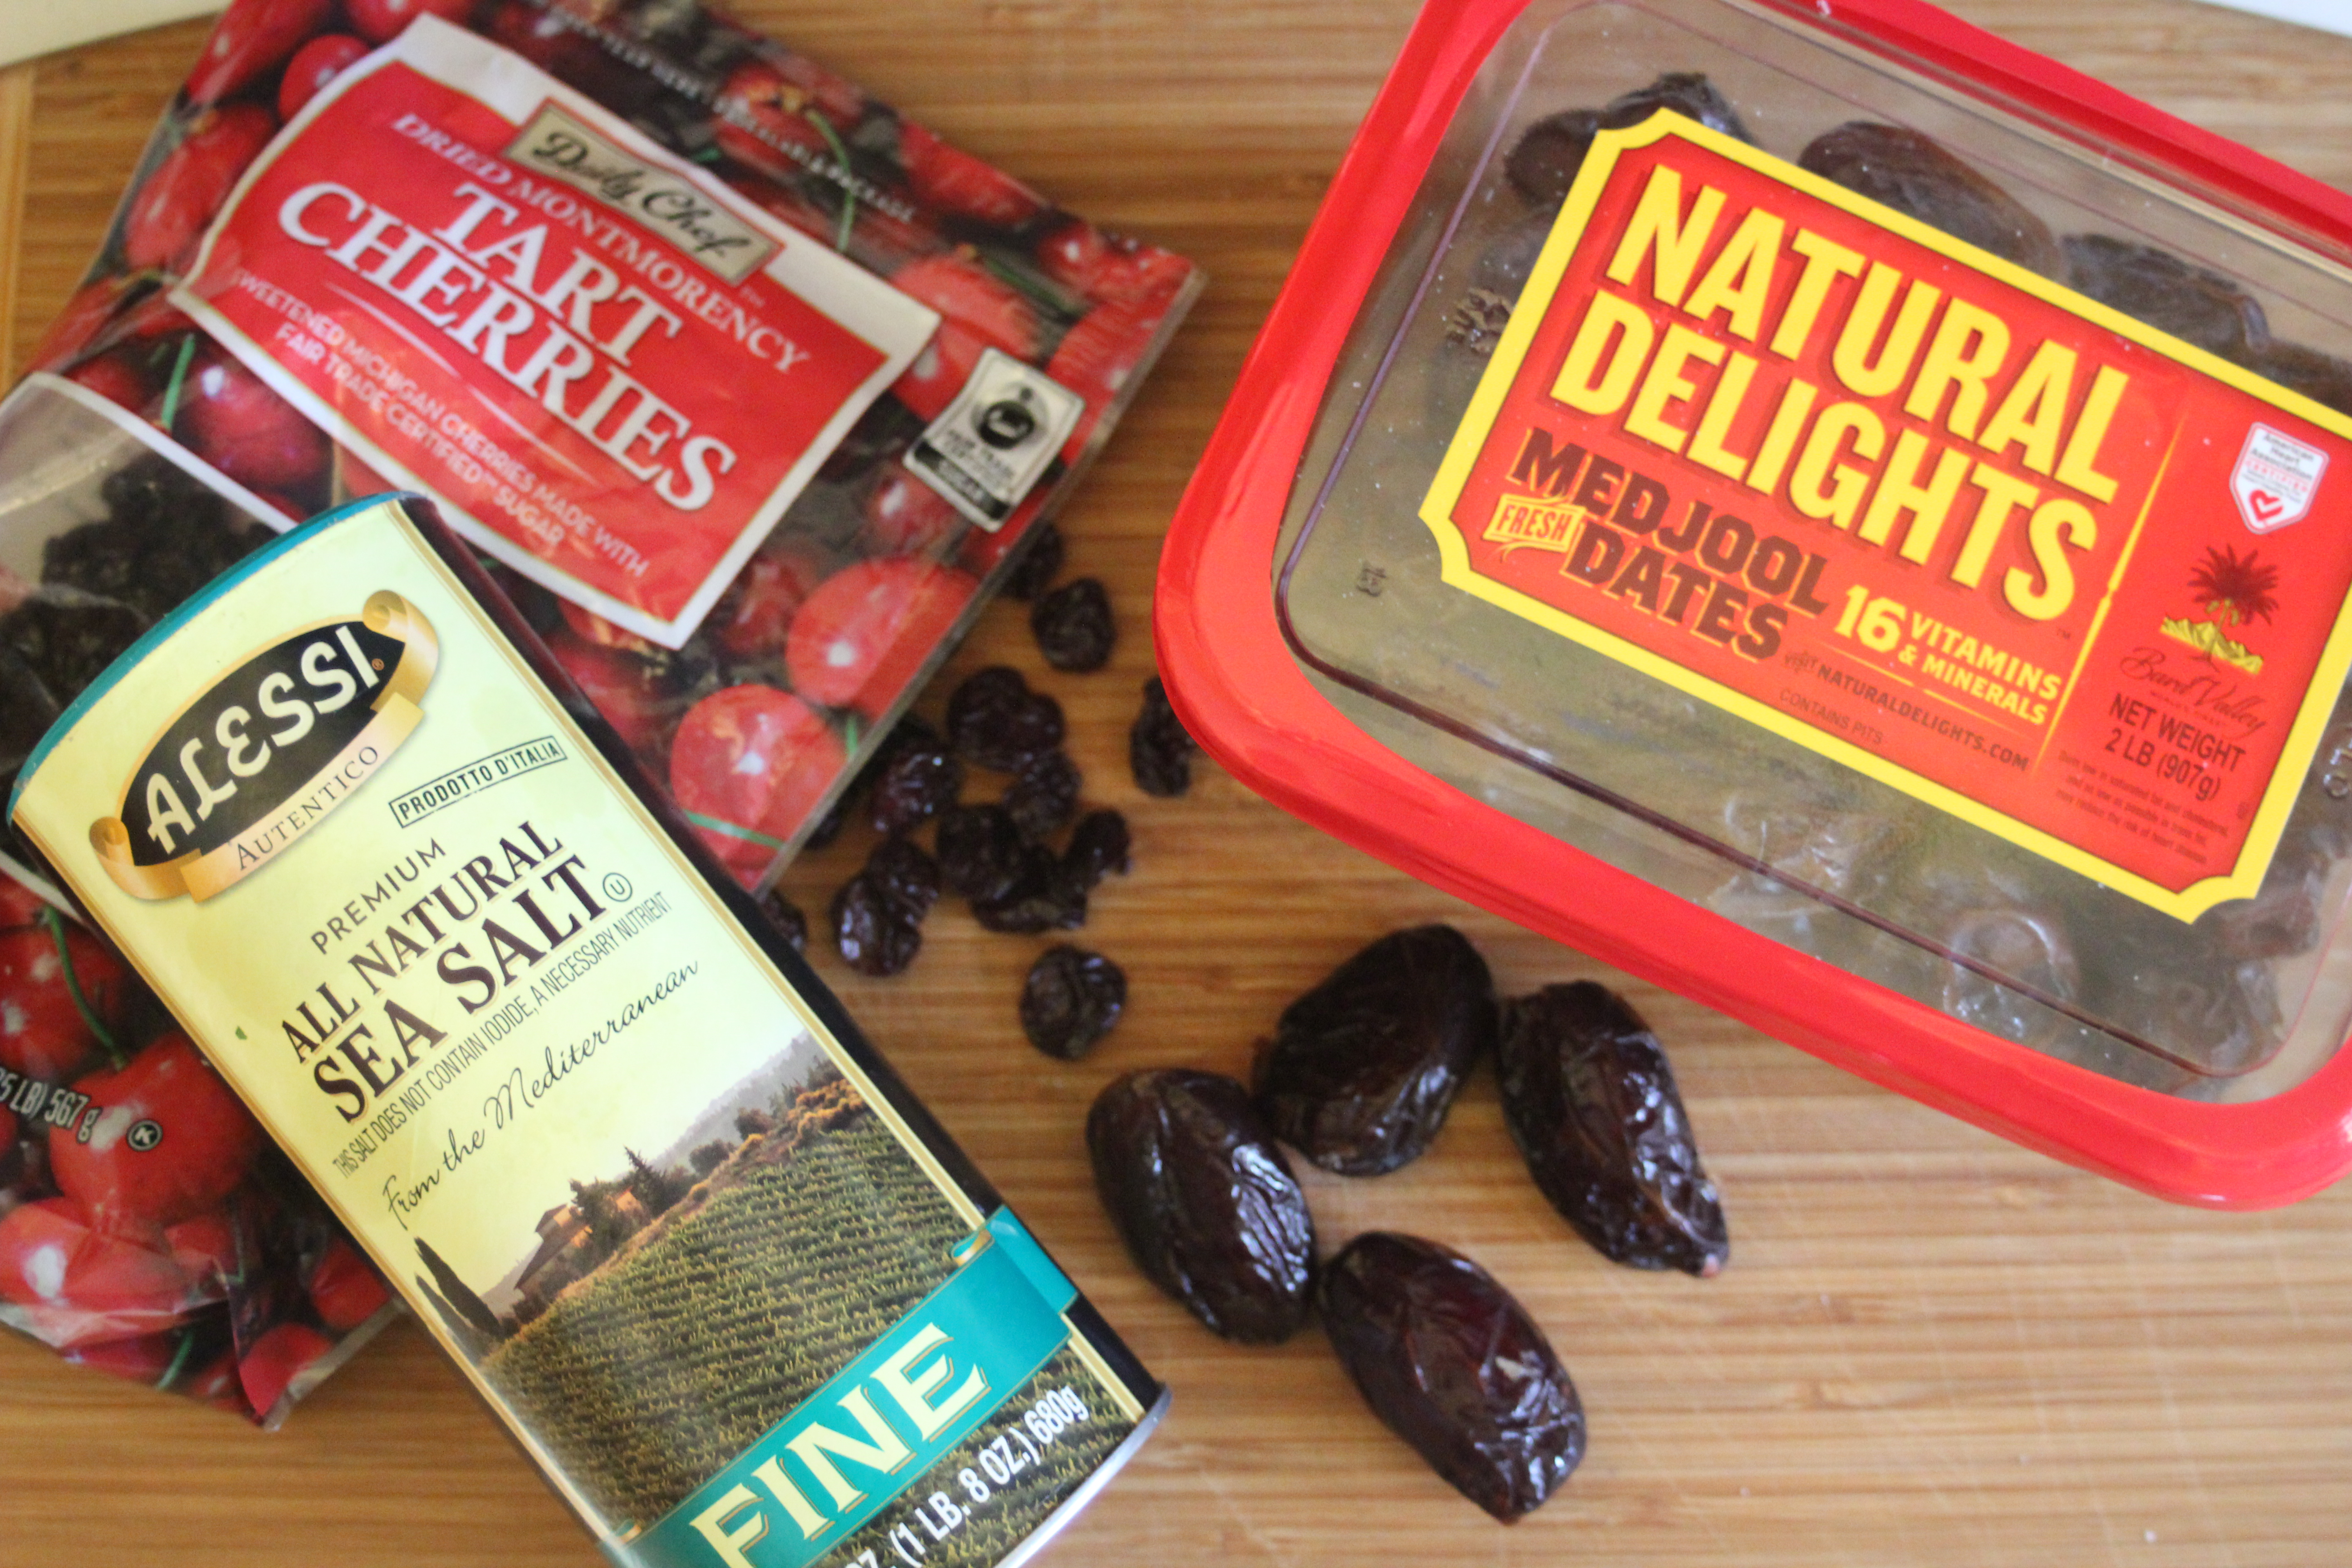
My first race foods were not gels at all. I packed a Ziplock bag full of dried tart cherries or dates. Tart cherries are good for inflammation and dates have a perfect balance of carbs and potassium. Real, whole foods are still my first choice on a long trail run. The only problem with using them while racing is I started being able to run faster. Chewing and breathing at the same time wasn’t working out so well anymore.

So I tried blending the dried fruit with water and adding a little salt for the sodium. Success! Dates are a classic vegan standby for caramel and become close to fudge when you add cocoa. The first of my gels were born: Salted Tart Cherry Gel, Salted Caramel Gel, and my favorite, Brownie Batter Gel. These are great options for racing and I filled my gel flask with Brownie Batter for the 2014 Chicago Marathon.

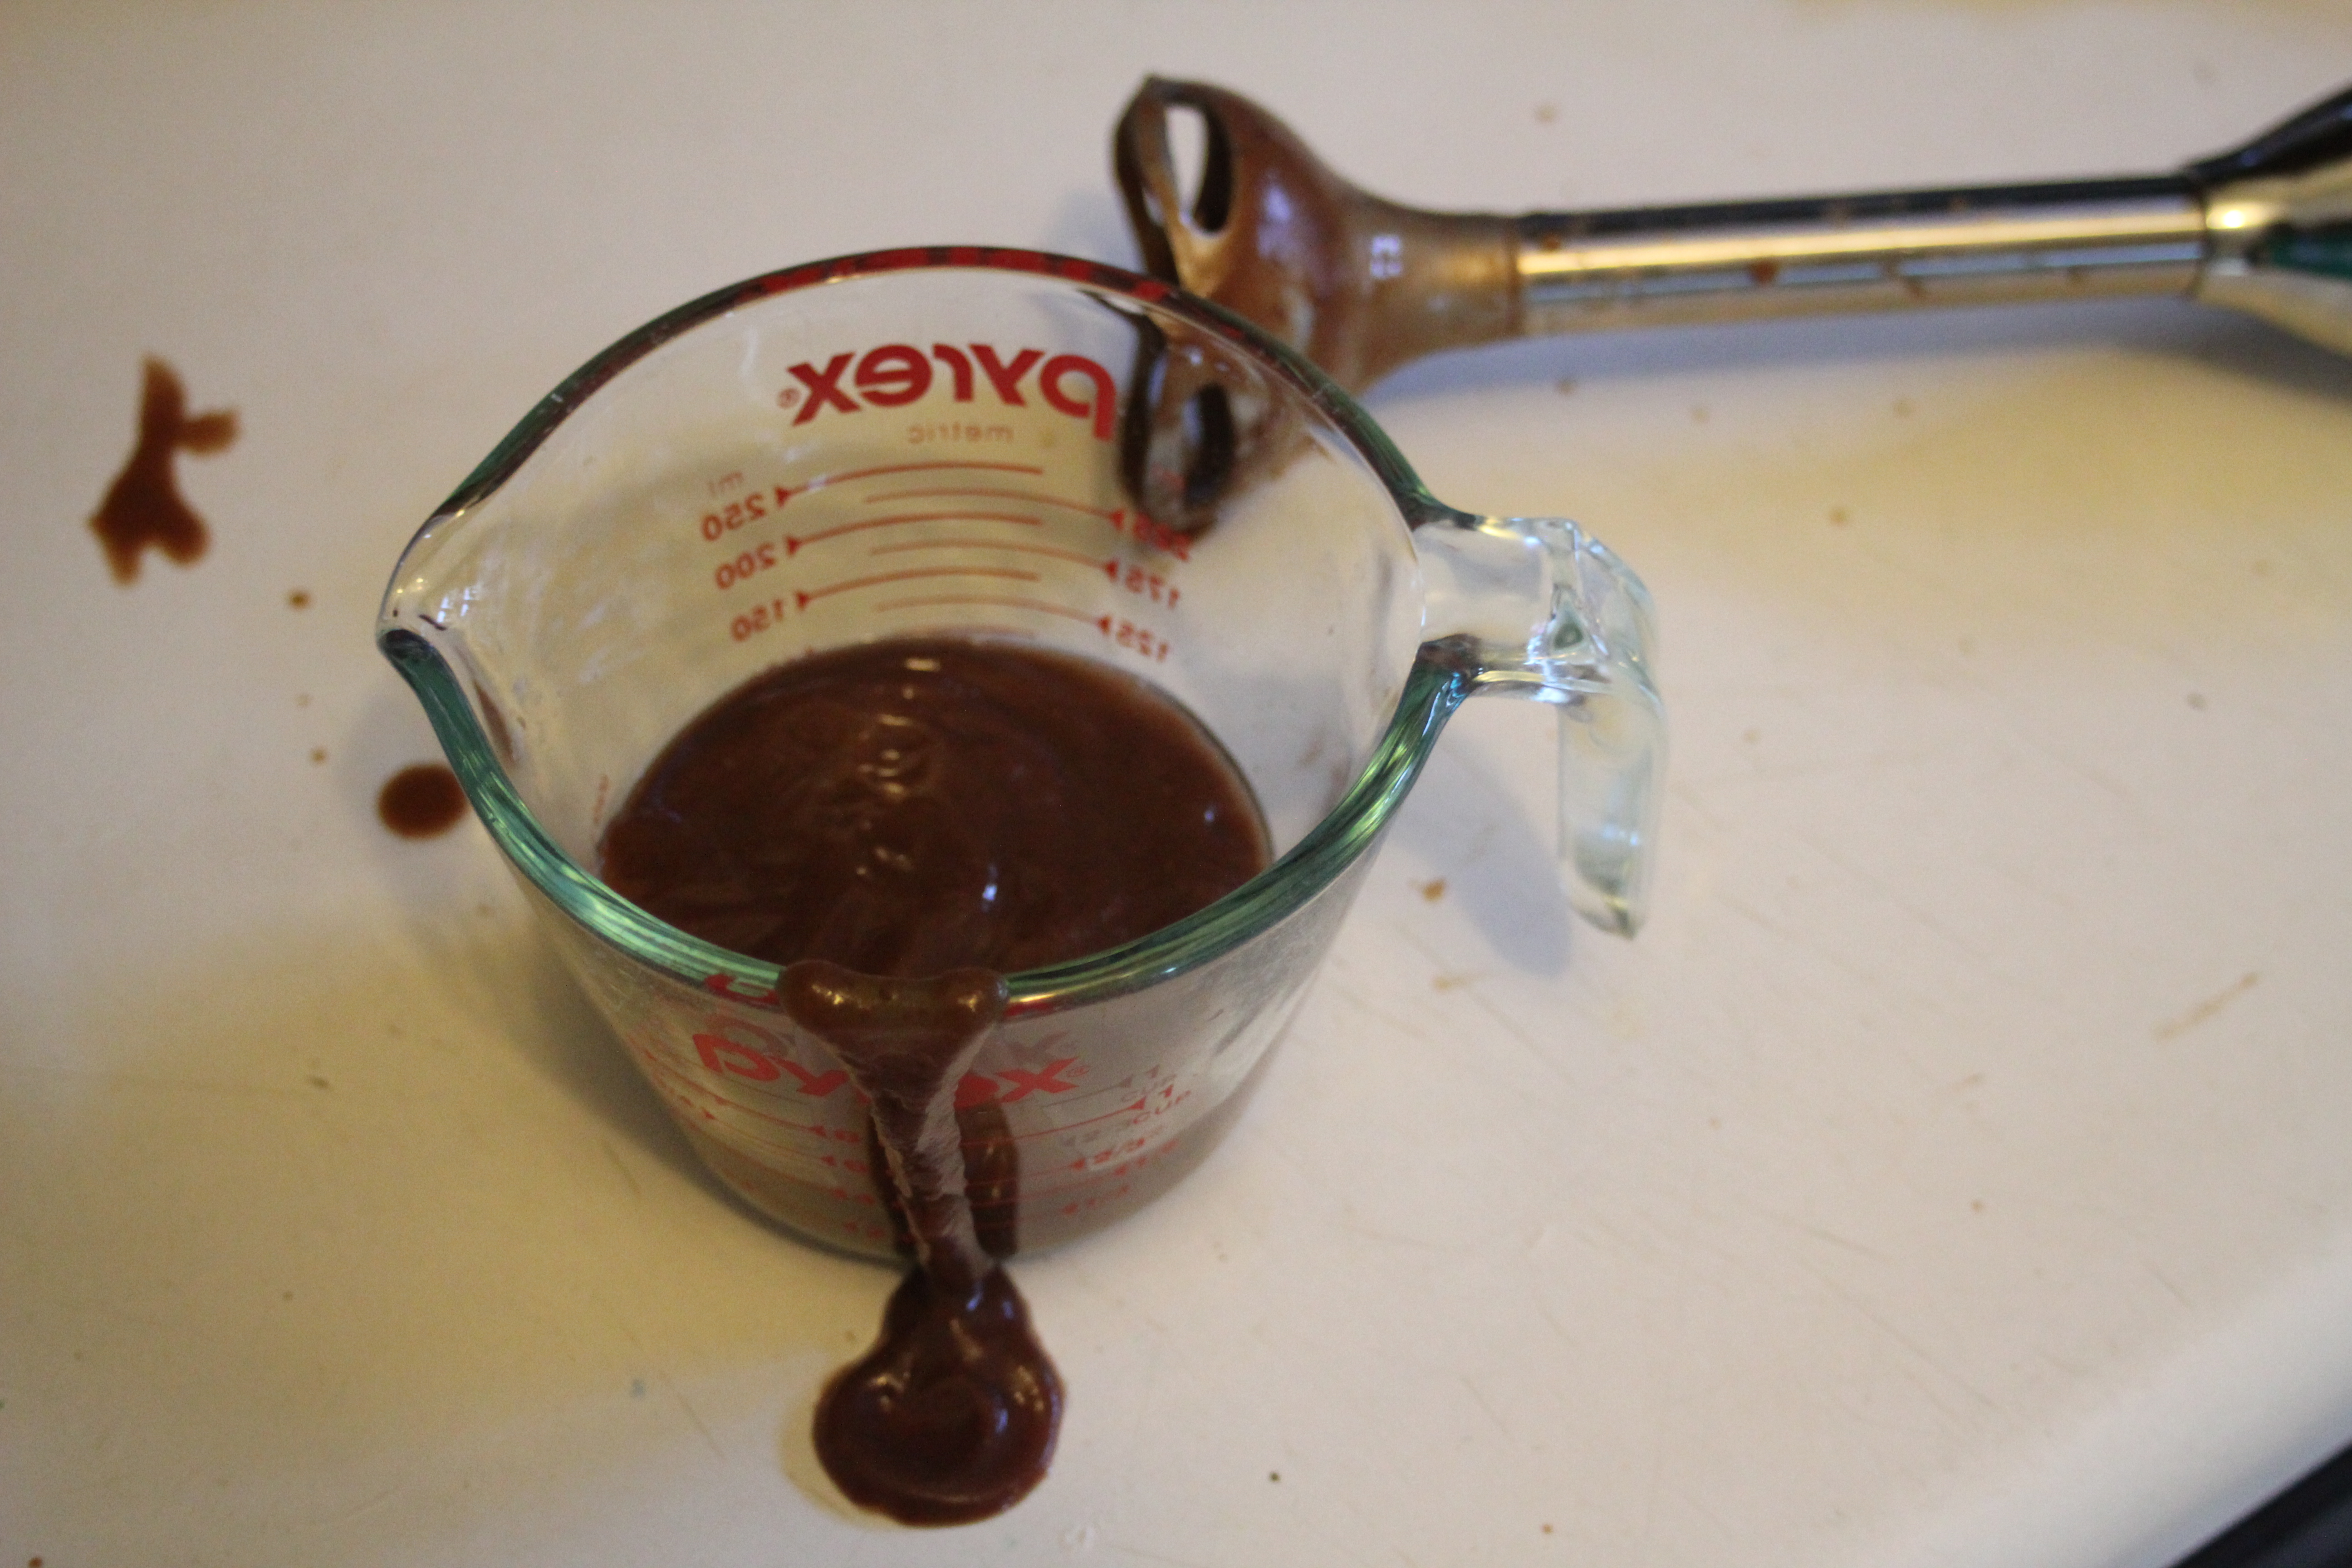
They have a thinner consistency than many store-bought gels, they taste great, and they are real food. Be sure to blend very well with a decent blender to achieve a smooth gel. If your dried fruit seems very dry, you can try soaking it in water the night before.
Brownie Batter Endurance Gels
Ingredients
- 4 medjool dates with the pits removed soaked overnight if not already soft
- 4 ounces of water
- 1/4 teaspoon salt
- 2 teaspoon cocoa powder
Instructions
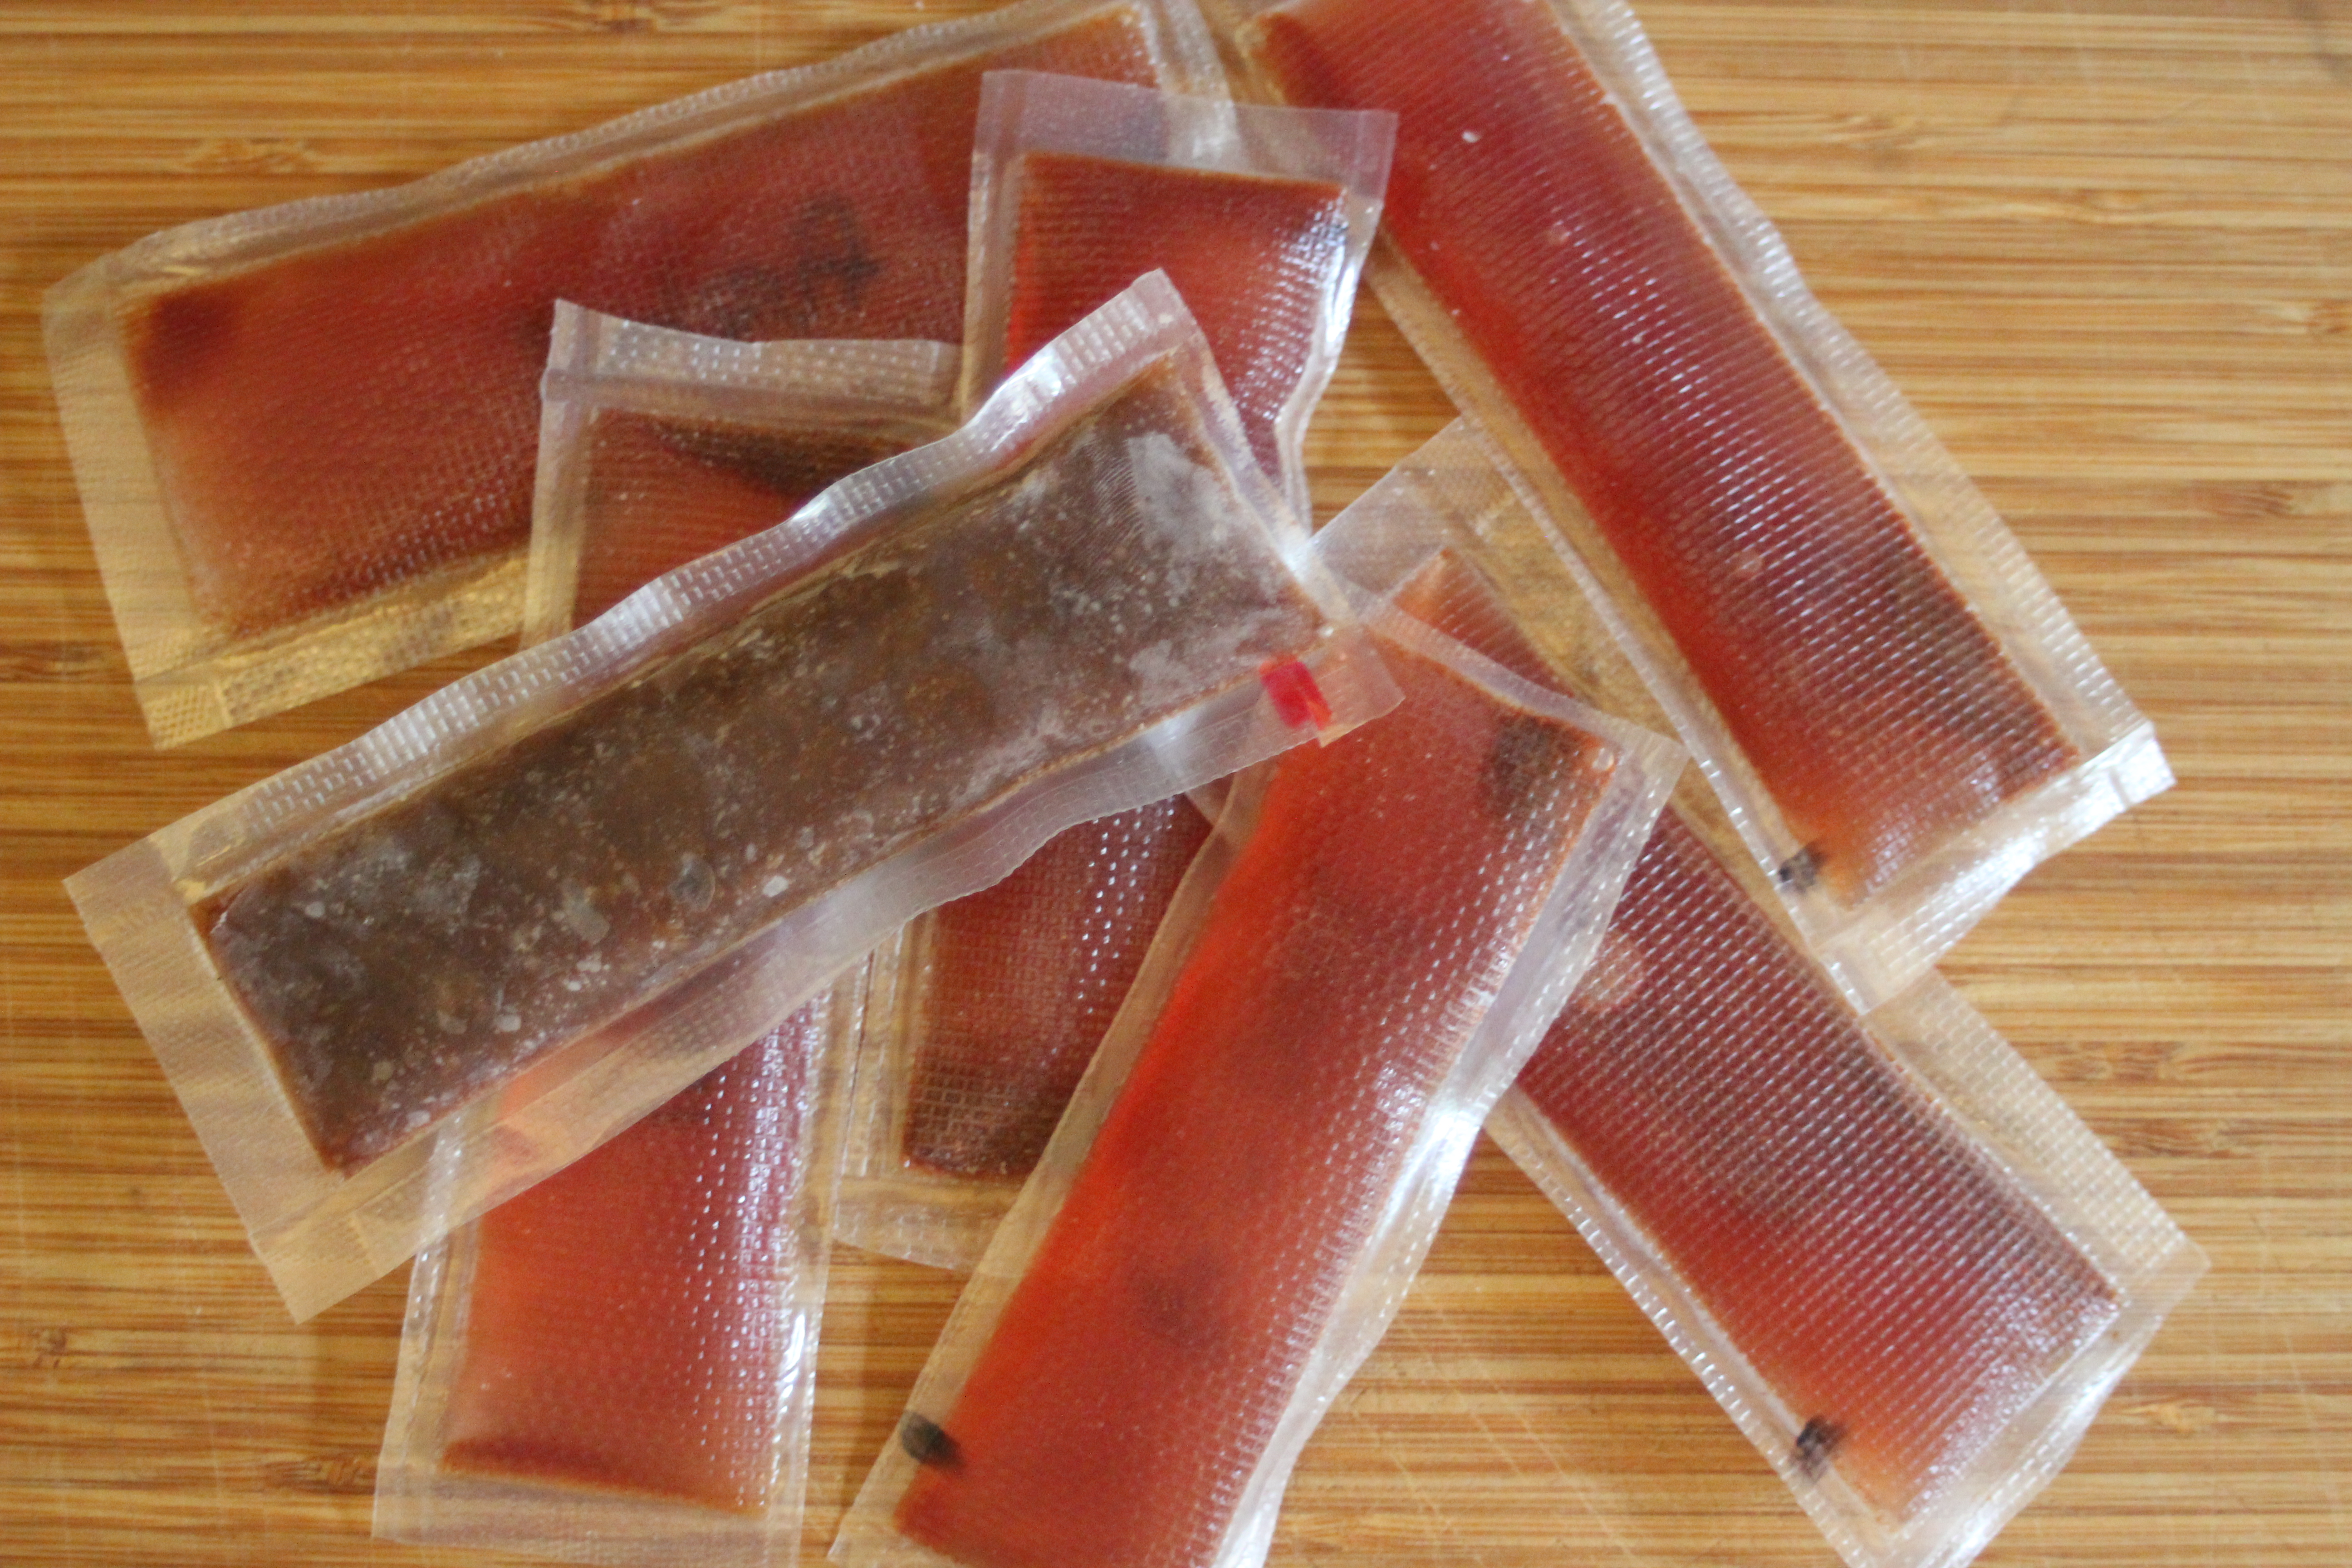
- Blend all ingredients very well. I prefer to use an immersion blender since that's the easiest to clean, especially for small quantities. Add more liquid as desired to create the consistency that you like. Once the gel is smooth, pour into a gel flask, food-safe silicone travel bottle, or seal in custom FoodSaver bags.

